
The photo at the beginning my last post, which shows "Rosebud" has been our most popular kit for this entire year! It is precious and best of all, it takes no time at all to make it. So, today, I am going to share with you how I make a ruffled tee-shirt dress. You will need a tee-shirt ~ naturally! ~ and some ruffle fabric. The quantity will depend on the size and whether you want to make a midriff or drop-waist dress. After you decide which style, measure your child (from either the midriff or the waist) down to the desired finished hem length. Remember you do not have to hem ruffle fabrics, so this last measurement IS the final length. I suggest that you make it slightly longer than you might think - one or two rows of ruffles should suffice. It is easier to cut off a row or two rather than add some rows!
So, the first step is to measure your tee-shirt from each side at the arm hole down to where you want your ruffle "skirt" to begin and mark. I love to use the pink SEWLINE marking pens.
 |
| Measure from the armhole down & mark. |
 |
| Measure from both side and place your ruler across both marks. |
 |
| Draw a line from marking to marking and cut off your tee-shirt! |
Your tee-shirt is now ready.
To cut the ruffle fabric, cut between two rows of ruffles, parting them to each side so that you do not accidentally cut off a ruffle.
 |
| Apply WONDER TAPE to one of the selvedge. Remove paper backing. Press the other selvedge on top making sure that your ruffles are lining up. Then stitch up your seam! |
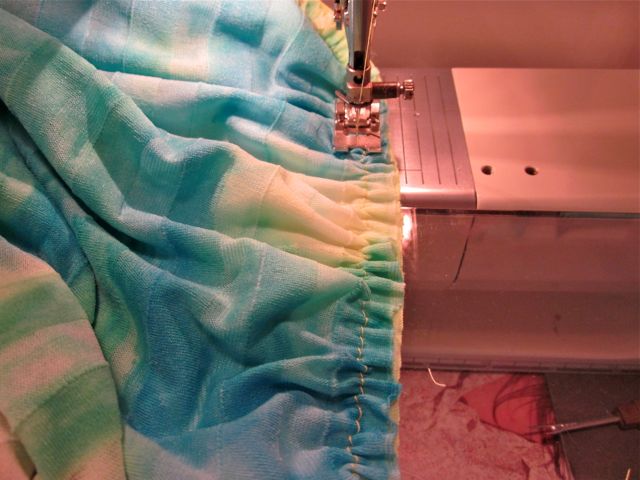
Now you are ready to run a gathering seam at the top edge of the ruffles. Not on top of a ruffle, but rather in the space between two rows of ruffles. Note which way your ruffles run. Some ruffle fabric the ruffles look the same no matter which way you hold them. While others it is quite obvious that they only run one direction.

Gather, distribute the gathers evening and pin the "skirt" to the tee-shirt.
 |
Lengthen your stitch length to a 3 and attach the skirt to the tee.

It is up to you if you would like to finish your seam. I have found that I prefer to use an overlock stitch on my sewing machine rather than my serger as it seems to add a little less bulk and does not stretch the seam ~ which might cause it to pucker. And, I really do not like to leave my seams unfinished! However, nothing is wrong with leaving them as is as they will not ravel or fray.
Voila you are done! Yes, that is all there is to it!

Next I will talk about making a flower and embellishing the top of the tee-shirt.

Wow, this is beautiful!!
ReplyDeleteBoy, am I on the beam! Yes . . . I agree and thank you!
ReplyDelete